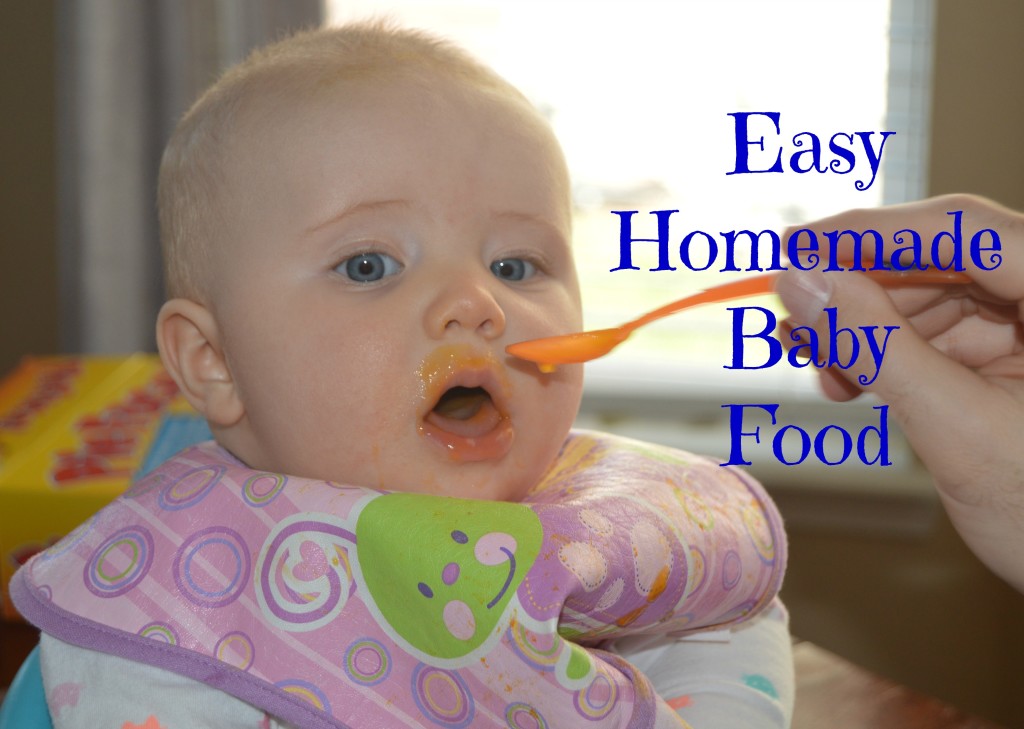
One of my favorite baby stages with each child has been introducing solids. All three of my kids enjoyed pureed baby food, so that was the route I took. I remember when the doctor gave me the okay to start solids with Cohen; I went out and spent a ridiculous amount of money on each stage of food in every fruit and veggie imaginable. He was my first baby, and I didn’t know any better! When it came time to try solids with Lola, I got smarter about it, and I decided to make my own food. My plan was to test the waters to see how it worked and if it would be worth my time. I had just returned back to work from my maternity leave, so my life was back to the busy norm. Plus, what if I made all of this food and she hated it? As luck would have it, the kid DEVOURED every last bite, and the time it took for me to prep and make the food barely made a dent in my day. Now that Remy has started on solids, I have been making all of her food, too.
To get started, you need three essential items: a blender or food processor, ice cube trays, and gallon size freezer bags.
Sounds easy, right? Well, it gets better – now you get to go shopping! Personally I like to splurge a little bit and get organic fruits and vegetables since I’m saving so much by making my own food. I normally follow the Dirty Dozen and Clean Fifteen lists to determine which fruits and veggies really need to be organic.
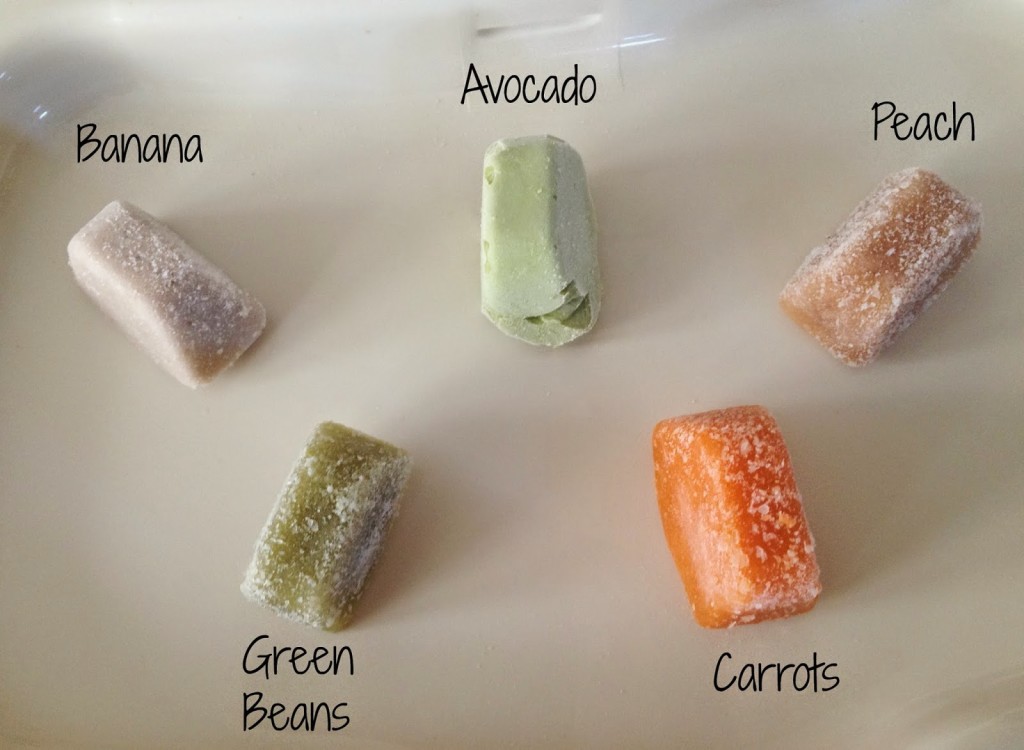
Next is the process of making the food. I cook the food, cut the fruit or vegetable up into small chunks and blend. Always start with less water and then add more as you mix it up. I like to make it a bit thicker because you can always use breast milk, formula or water to thin it out before feeding it to your little one. Then I pour the food into the ice cube tray and pop it in the freezer until frozen. Once the food is frozen, I store the cubes in labeled freezer bags and defrost a cube or two at each mealtime. (I do recommend doubling up on your freezer bags to help prevent freezer burn.)
I’ve included a few recipes that I use when making the food. Remember, you want to blend each fruit or vegetable separately and make sure to wash your blender well in between each new food in case your little one sparks a food allergy. Each of my kids started with a single fruit or vegetable and then later on, I started combining them to make more flavors of purees. Again, this was to rule out any food allergies as well as to get them used to different tastes and textures.
Sweet Potatoes: Poke holes in your potato with a fork and bake in the oven at 400 degrees for an hour. Let it cool, peel and cut into chunks to put into the blender. Begin by adding 1/4 cup of water and puree. Add more water as needed.
 Butternut Squash: Cut squash in half and place face down in a baking dish. Pour 1 cup of water around the squash in the pan. Bake for 45 minutes to 1 hour at 400 degrees. Let cool and scrape out of skin before blending. Add to blender with about 4 tablespoons of water and puree.
Carrots: Cut carrots into small pieces and boil in water until soft. Cool and add to blender with 1/4 cup of water. Blend until smooth.
Avocado: Remove skin and cut into chunks. Add water (start with about 1/4 of a cup) as needed while blending.
Banana: Cut bananas into small pieces before blending. Add water as needed. About three large bananas make one tray of food.
Apples and Pears: Remove skin and cut into small chunks. Boil in water until soft and then blend.
Green Beans: I used fresh beans, cut off the ends and simmered them in water until they were tender. Drain and blend. (I blend these first without water and add teaspoons as needed, otherwise they are super runny!)
Peaches: Make sure your peaches are soft, cut them into small chunks, add to blender with 2 tablespoons of water and blend.
Remy is cutting several teeth, so I cut one of the cubes in half and stuck it in those teething net things for her to gnaw on. It worked like a charm – the things you learn the more kids you have! I am by no means Miss Rachel Ray, so if I can do this, you can do it, too!


I always have trouble getting the frozen food out of the ice cube trays. Any tips?
Hi Michelle! Yes! I actually will just set the trays out on the counter in room temperature for a couple of minutes. Then I can twist the trays into the plastic bags with ease! –Kait
Comments are closed.